Klik Sini


⚠️ JIKA LINK GOOGLE TIDAK DAPAT DIAKSES ⚠️
Tenang, kamu tetap bisa bermain seperti biasa. Bookmark salah satu link resmi alternatif kami di bawah ini:
LINK ANTI NAWALA:
LINK ALTERNATIF LAIN:
📌 Simpan link ini agar tidak terputus akses ke akun dan permainan Kamu.
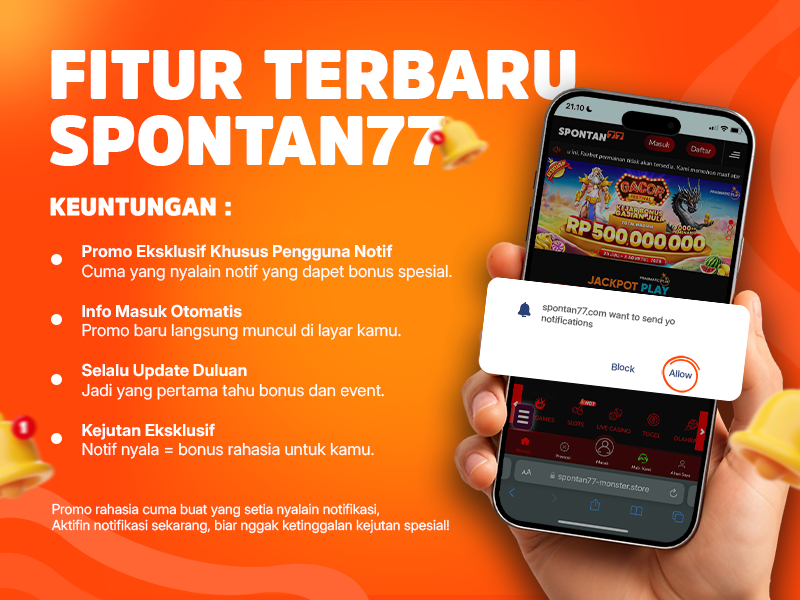
⚠️Download aplikasi kami agar anda dapat mencari situs kami secara otomatis jika pencarian google hilang⚠️